Tuesday, September 11, 2012

Adventures with a Treadle Sewing Machine: Days 2 and 3

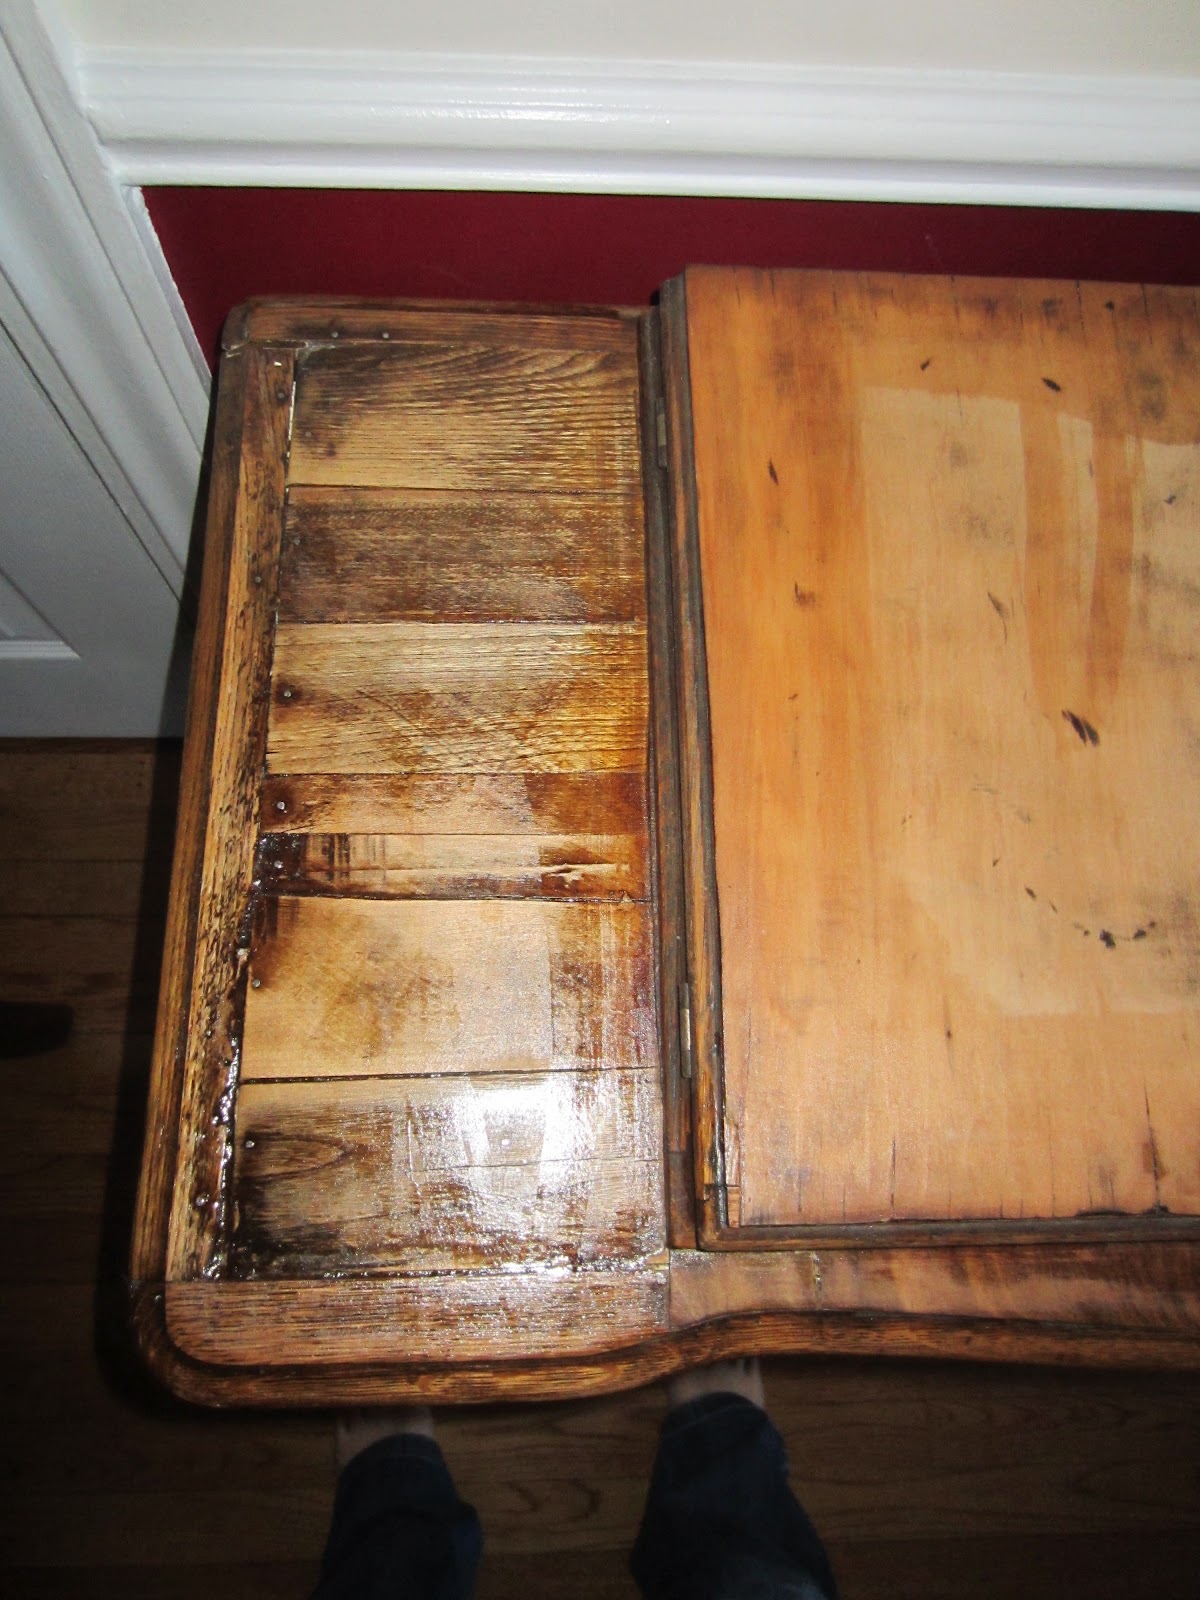
I have been making some pretty good progress over the past 2 days considering the rough condition this treadle machine was in. Yesterday I took some photos of how everything looked after the wood hardener had dried over night. 


I used wood filler to fill a lot of the cracks but do not have photos yet as I will be sanding everything down tomorrow. I then proceeded to wood glue a piece of the table that had lifted apart. 


Luckily, the wood glue worked like a charm. Everything looked great when I took the clamps off this morning.


I also spent last night cleaning the iron legs and pedal. I thought it would be an easy project. I started by scrubbing every last inch with some baking soda paste and a toothbrush. I then wiped everything down with a wet sponge followed by an immediate drying with paper towel. But it still wasn't clean. It took 8 more wipe downs before everything was finally clear of years and years of filth. Poor machine. 

Here are the before pics:


And even a during pic:


And the after pics! The right side is pretty badly chipped but all the rest looks great. I figure the right side just shows its aged charm. The bottom still needs to be polished but I am saving that for last. 


I called it quits for the night after all of the cleaning but I was right back at it today. During the little man's nap time I decided to start tackling the filthy machine! Here is what I was looking at as I sat down today.


I decided the best way to start would be by tackling all of the removable pieces. Here are before pictures of the items I decided to tackle today. 


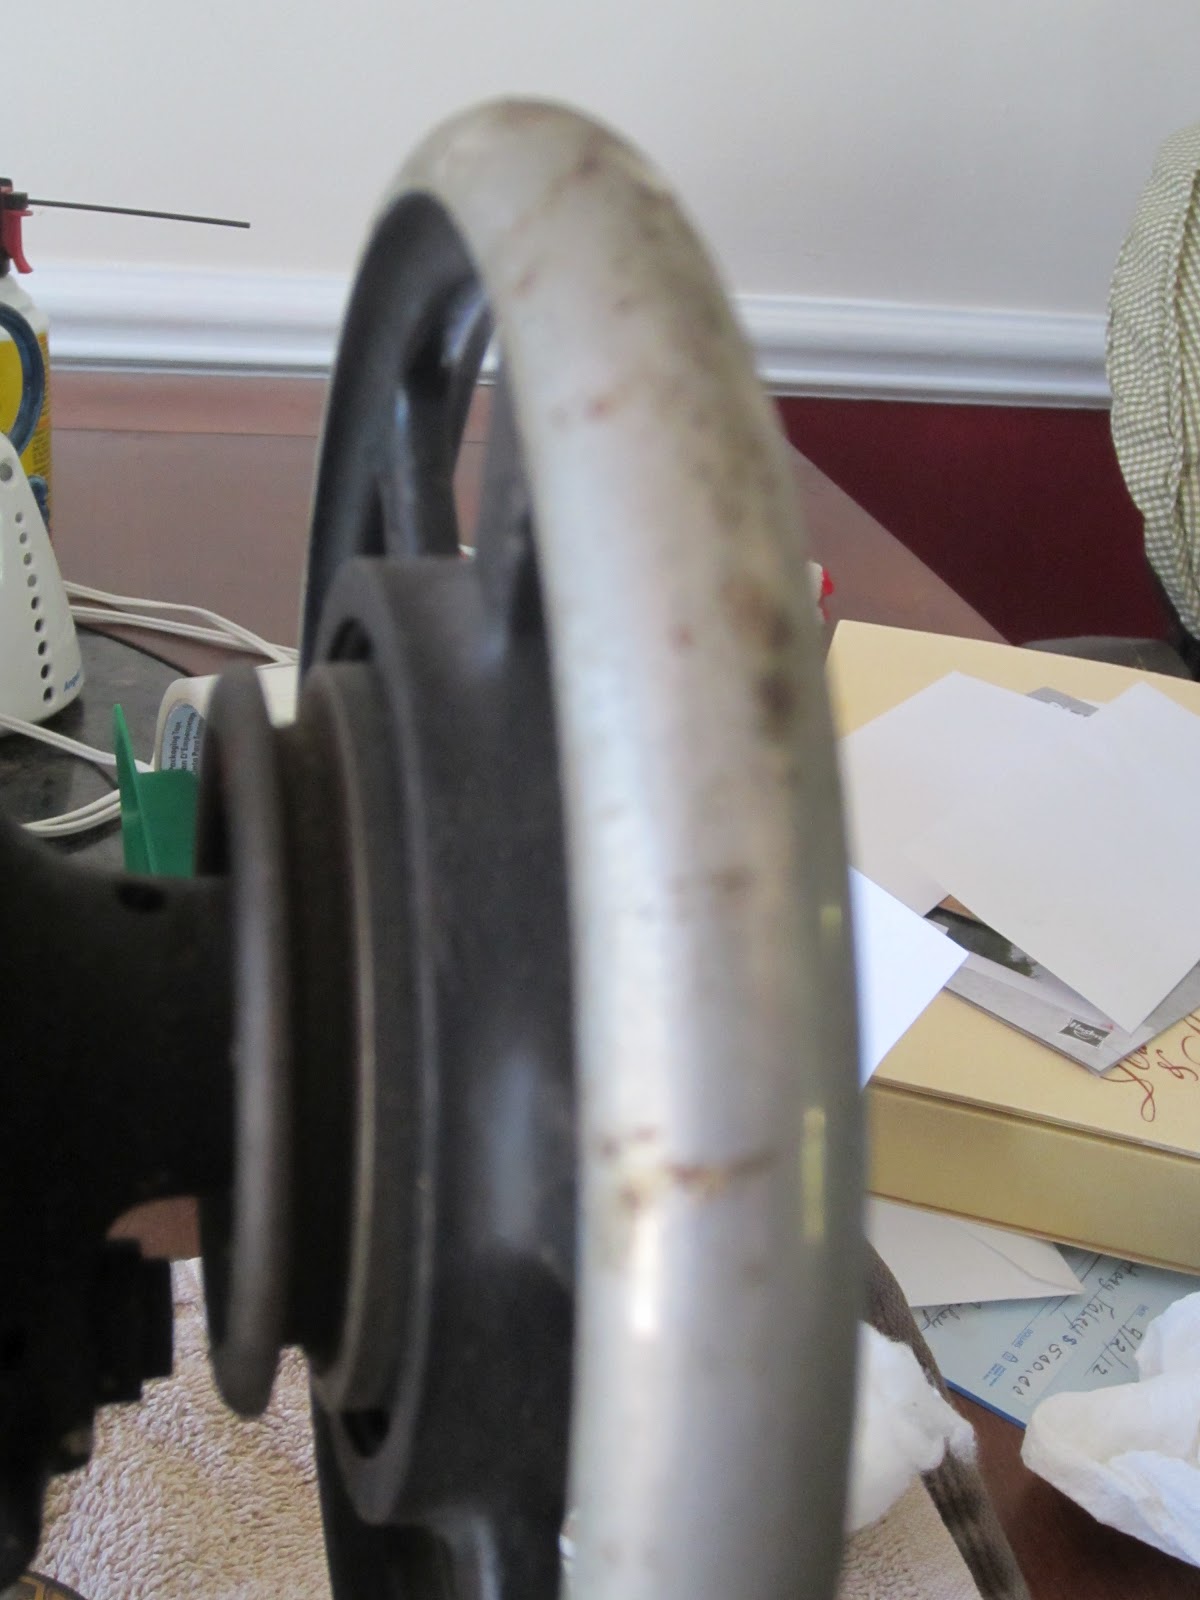
And here is a during pic. This piece was in really bad shape. Even after cleaning it has little luster left to it. :(


It took baking soda paste and a toothbrush, then a desperate attempt at soaking in some Coca-Cola, and finally some WD-40. I then decided it was time to take a break again so I polished all the pieces before placing them back on the machine. I am not sure if any further cleaning on these specific pieces will do anything but I may try one more bout. If anyone has any advice on what to use to help these really come clean, please do share!

Here are pictures of the pieces after some elbow grease today:


I also used sewing machine oil on a cotton ball to clean all over the decals and the machine itself. So far I did 3 wipe downs and the machine is looking much better. A few more times and it might finally be clean. 


And that was all I had time for today. I still need to tackle all of the pieces that did not come off. I also have to clean the bottom of the machine as well. Quite a rewarding project so far though . . . I just am dying to get this whole thing sewing again! Such a beautiful machine . . . it's so sad to see how neglected it was. Hoping to stain the cabinet tomorrow! 

Stay tuned . . . 
Pin It

Sunday, September 9, 2012

Adventures with a Treadle Sewing Machine: Day 1

Disclaimer: I am not a professional furniture re-finisher and I would never recommend refinishing anything antique that may be of value. This post is just to share my adventure . . . not to tell anyone how they should handle a refinishing project.

That being said, this is either going to be my greatest refinishing project ever OR it could end up being the worst! So I thought it would be fun to document my adventure as each step happens . . . no matter how much a success or mistake each step is!

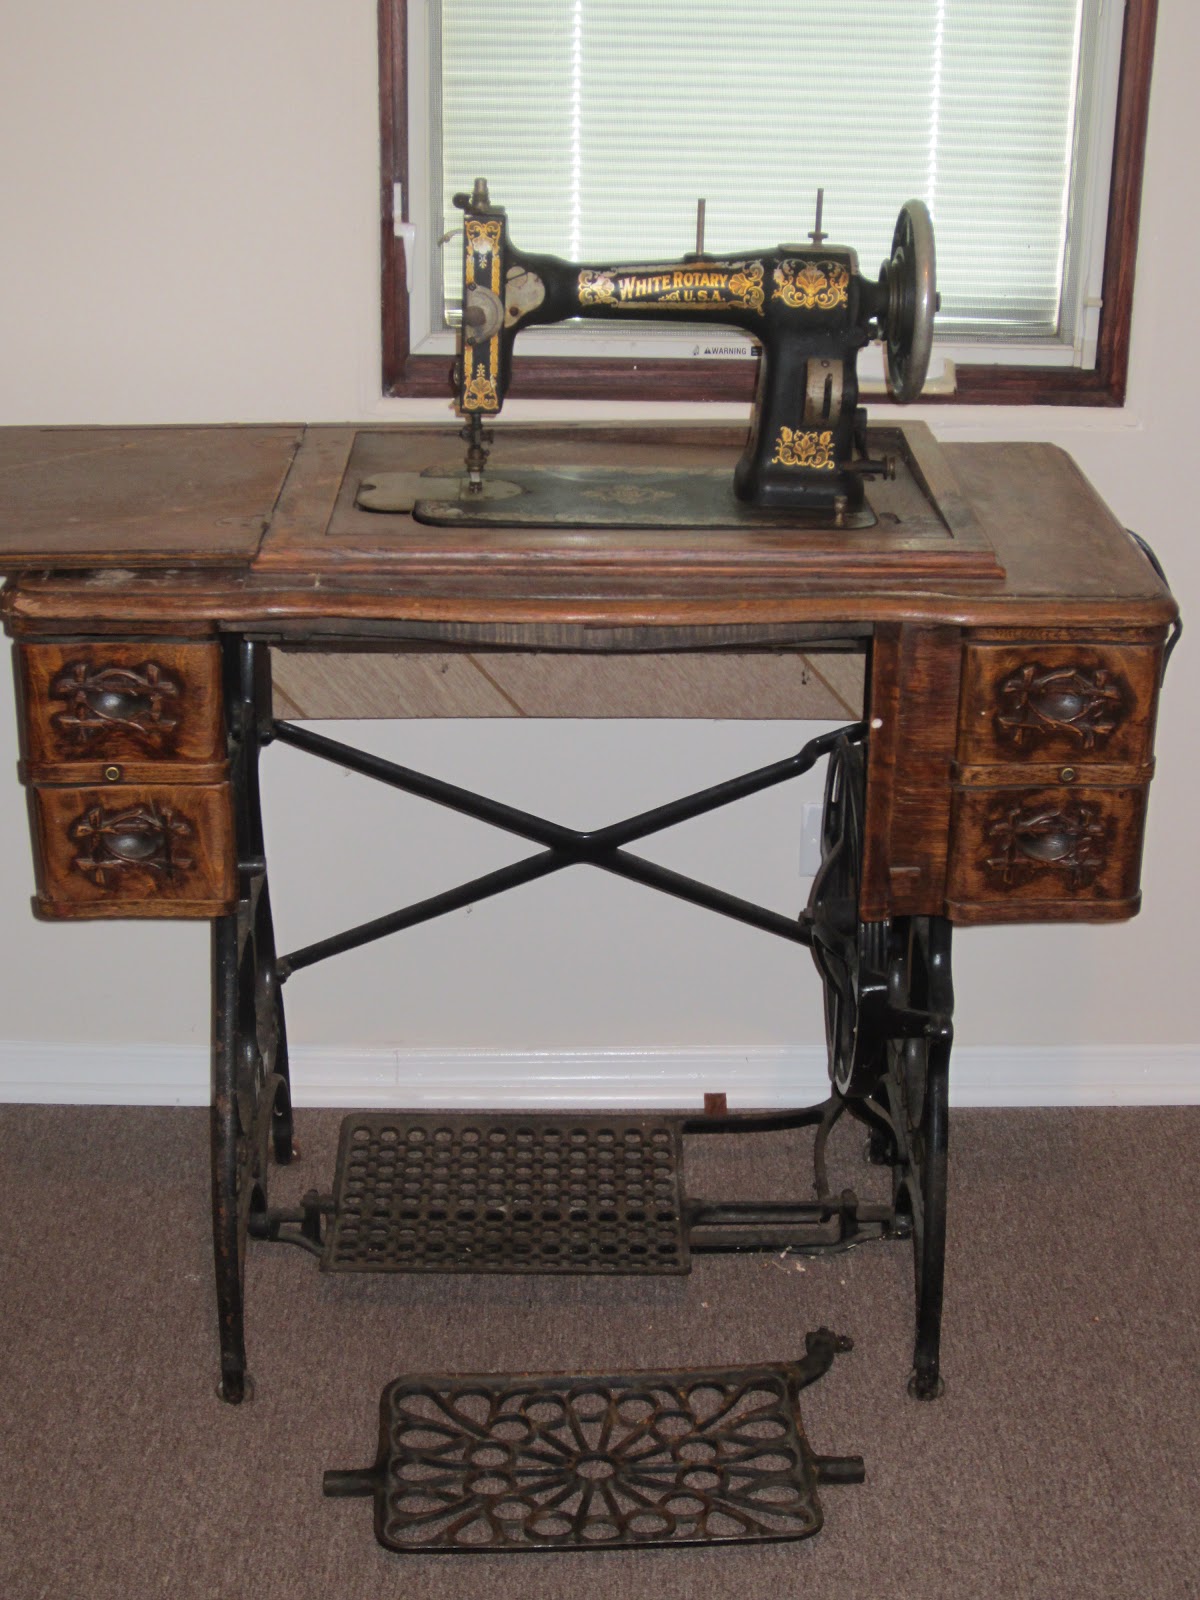
My husband purchased me a treadle sewing machine as an anniversary present last weekend! Being as thrifty as he knew I would want him to be he found me a fixer upper. It is a White Treadle and it is beautiful . . . or at least it was beautiful at some point in time!   :)  


Really I do find it beautiful even if it is in beat up condition! But as I looked closely at it I knew there would be a lot of work to do to really make this piece shine. It sat for the week and most of the weekend . . . yes, I wasted this beautiful 70 degree weekend. I complained all summer about it being too hot for re-finishing projects and then I wasted the beginning of the weekend. In all fairness though, I was unwinding after all the craziness of the little man's birthday bash. 

I finally began to tackle this beauty today though. I removed the sewing machine and then my husband and I lugged it back down the stairs and straight outside where I was able to begin cleaning it off. As I looked at it closer in the sunlight it became obvious that this poor machine had been neglected for a very long time. I am almost convinced that this was stored in a leaky garage or a very, very wet basement. But for kicks and giggles I really like to imagine that it was forgotten about in a barn somewhere. 

It appears that most of the piece is covered in wood veneer, which with time and the poor conditions it must have been kept in has either began to warp terribly or is now crumbling off of the table. 

This is how I can justify refinishing this piece. I sincerely believe this piece would have been put into the garbage or sold for parts if my husband hadn't bought it for me. I know it is not worth anything in the condition that it is in and since it is a personal item that I would never dream of re-selling I knew I wouldn't be hurting any value by re-finishing the project. 

Here are some closer looks of the table:


Yep . . . that is bird poop on the table! YUM! And when I removed the sewing machine I found bird seed in underneath it. If you look closely you can see that this entire side of the table is missing it's wood veneer top. I think I may like the planks better than the veneer. 


This is the other side which is covered with veneer. It has some wear and tear but is still holding up. 


This is the center of the table. Lots of wear but again more solid than some of the other areas of the table.


This is the right front. Once again, some bird poop. You can also see that some of the finish has lifted away from the piece. I am hoping some wood glue may help hold it in place. 


Center of the front. Again . . . a lot of wear on the wood veneer but I really don't want to refinish this part. Despite the twig detail having worn away I like that you can still make out the "WHITE" outline. Hoping to figure out a way to keep the veneer from completely falling apart. 


Right side of the table with wear along top and bottom.


Left side is in the best shape, mostly worn on the bottom. 


One of the drawers. This is the one in the worst shape. I may keep an eye out on ebay and craigslist to see if any one is selling any of these drawers. The drawers seem very brittle.

I decided to try re-finishing the top and just touching up problem areas around the sides. So today I carefully sanded away all of the finish (and bird poop) from the top of the table. 


After the sanding.


This part of the table was in the best condition and it has an awesome yard stick engraved on one side (of course I managed to not get it into the picture). The only thing I did here was sand down the side of the back piece so that the table would come completely up into place. If you look at the original picture you can see one side of the table was sloped downward because wood was scraping and not allowing the whole table to pop into place. 


While I was at Menards on Saturday shopping for a matching stain for the table I stumbled upon this can of Wood Hardener from Minwax. I love their stain and figured I would give it a shot on this very old and weak table. I cleaned all the sand off of the table and let it dry a bit before applying. Then I applied the Wood Hardener wherever the wood was cracking . . . so basically just about everywhere. 


It looked pretty once on but we will see how it all looks in the morning when all is dry. I am really hoping it will help to preserve this piece. 

After all of this work I had run out of day light. So my final project was just to start cleaning up the treadle and the legs. I was amazed at the difference made just by using some dish soap and water and wiping dry immediately. It still needs a more thorough cleaning (I have to do some research on the best way to bring this part back to life) but I think the difference is already remarkable.


I am calling it quits for tonight but hoping that if the little one takes a good nap tomorrow that I can make a little more progress! 
Pin It

Wednesday, September 5, 2012

Felt Birthday Party Hats

I am kicking off my string of projects from my son's birthday party with the felt party hats that I made! My husband told me not to bother making one for each guest (he said to just focus on the kids). I am so happy I did not listen and went on to make 19 hats . . . almost all of the adults wore one at one point through out the party. 

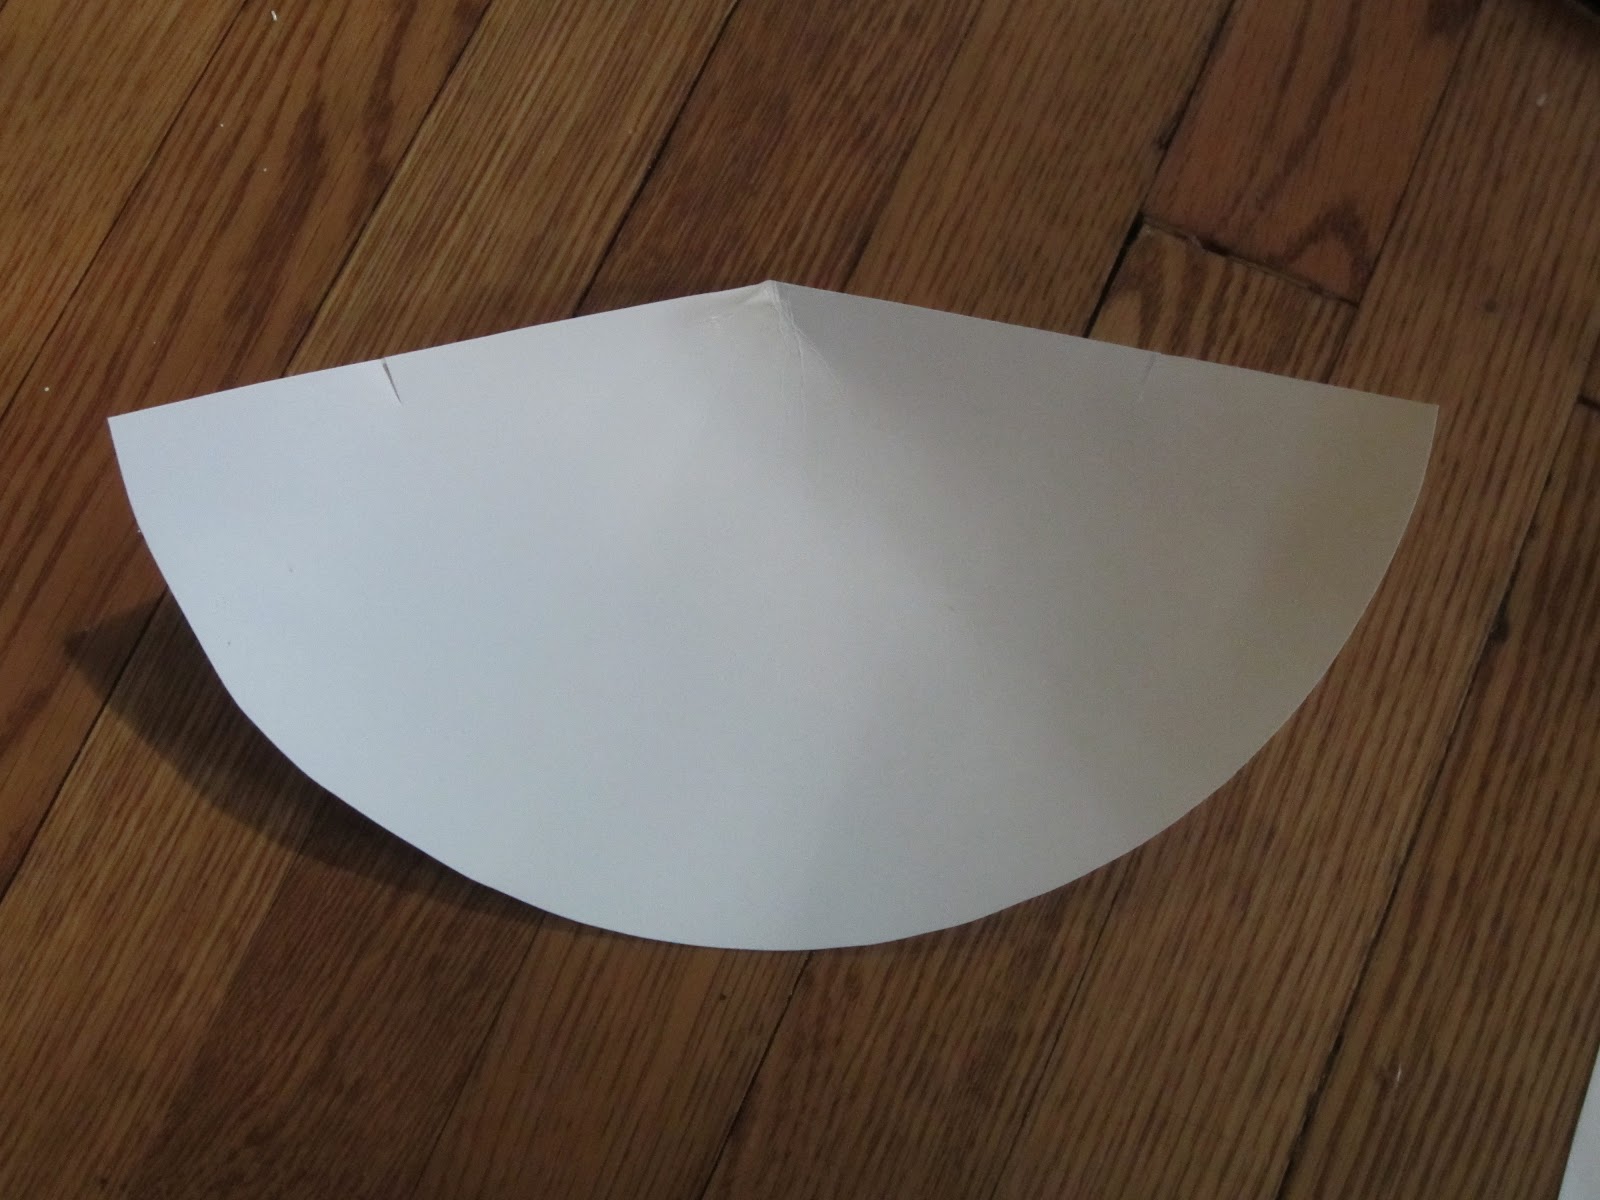
I began by cutting out the pattern for a cone on poster board. You can find one by searching online or you can simply create your own so that the size is just what you want. I ended up just creating my own so the sizing would be what I wanted. I used my pattern to trace and cut out all of the poster board base I would need, 1 for each hat. 


I also used my pattern to cut out the felt . . . I left an extra half inch around the pattern for the felt to be sure it would cover all of the poster board. 

Once all the felt was cut out I began to embroider it. I used my embroidery machine to add sesame street faces to the hats but, if you do not have an embroidery machine you can always add your designs by hot gluing felt cut-outs to your hats. 


I then assembled all of the poster board pieces into cones. Then hot glue your finished felt onto the cone, stretching to cover the whole cone. At this point you should staple some elastic string to your hat.


Embellish as you would like. I added pom-poms to the top of the hats and then felt fringe along the bottoms! Be creative and have fun! 


Pin It

Back to Blogging

Well, we survived the first birthday party . . . I shouldn't say survived. The party was a hit! I was so happy with how it turned out. The kids had a blast and that was all that mattered to me!

I wanted to write a quick post thanking everyone for their patience as I dealt with planning what I considered to be the perfect 1st birthday party for my son!

I was hoping to blog the week before the party but we had to deal with more than just the stress of prepping for the party. Unfortunately, the weekend before the party our beloved dog passed. It made it tough to stay motivated but I was grateful for the distraction of the party. However, now that the party is over I am finding it difficult to deal with the loss. Our home will never feel the same again.

I had adopted my dog in August, 9 years ago. He even went to college with me! He was also the inspiration for the dog bandanas that were among the first items I offered in my store. He was always wiggling out of the regular bandanas so I used his own size and collar as the basis for my pattern. I will think of him every time I craft a bandana!


Pin It