Wednesday, November 28, 2012

From Drab to Fab: A $150 Bathroom Makeover

There is so much about my house that I love: the character, the wonderful view of the yard from the back window, and it's original fireplace. But there were also some things I disliked. There was nothing I hated more than my bathroom floor.


Yes, that is some lovely school house vinyl right there. And yes, those floors have been scrubbed with all sorts of cleaning products . . . the dirt just wouldn't budge. I put up with this awful floor for 3 years.

\
I tended to try to combat the floors by covering them with as much rug as I could. Lucky for me, we found some ceramic tile for an unbeatable price at Menards and my amazing father was willing to give up many hours of his free time to come and tear this crappy floor up and install my new fabulous floor. I cannot thank him enough for the aches and pains he endured to make my house perfect! Am I lucky or what?


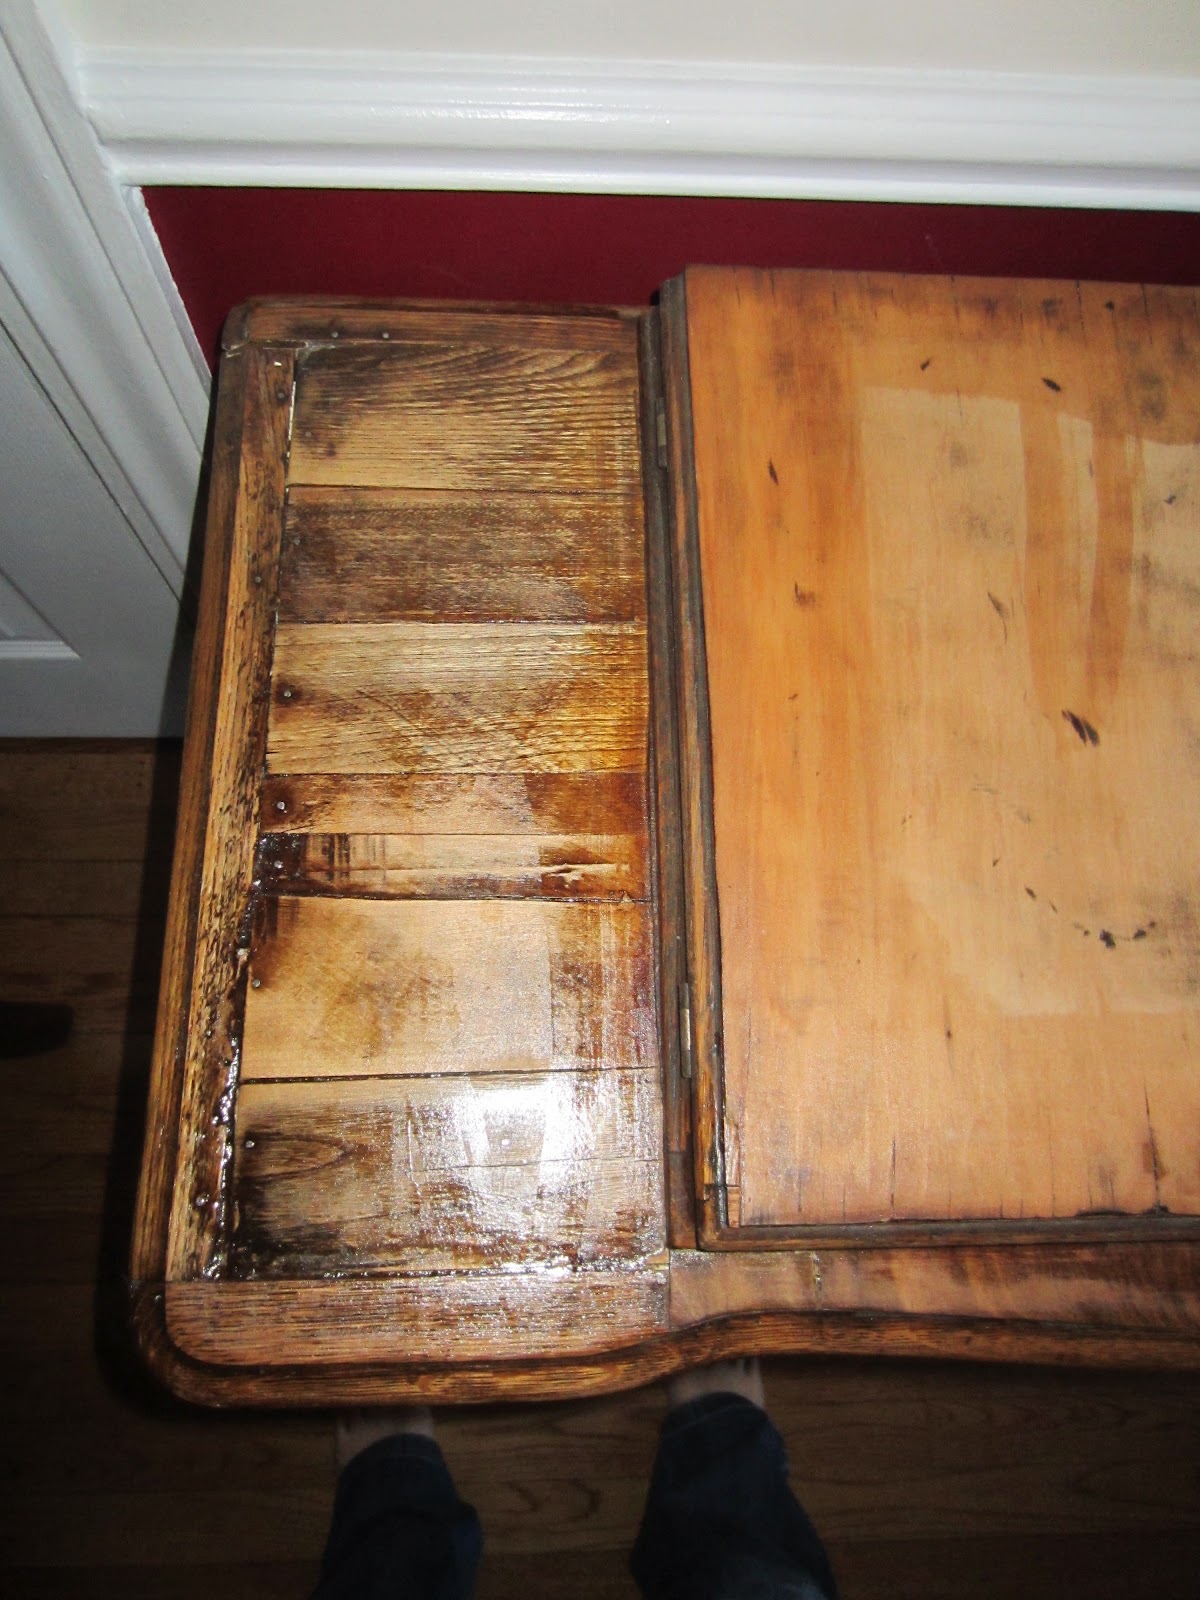
I was working on a budget so I knew I would not be able to replace the furniture but, all the items in the bathroom had been painted over (whether by the previous owners or the bank that foreclosed on the house). And I must say, poorly painted over. There were paint drips all over and it was such a blah brown. To top it off, on spots they missed you could see they never even sanded the beautiful cherry stained wood . . . why, oh why was it painted over?

So my dad pulled all of this out for me ahead of time and I was able to sand and re-paint . . . hence how we could re-do so much for just $150. I used only a quarter of a quart of paint and a little bit of my Polycrilic. The biggest cost on the cabinetry was the handles . . . which I got from Hobby Lobby! 


Now you see a little of my laziness . . . I have yet to add the handles to the wall cabinet. 

My dad removed and installed the new floor and he did a phenomenal job . . . I am finally loving my bathroom!


Notice the downgrade in the amount and the size of rugs. I am no longer ashamed to allow guests to use my bathroom!


Thanks again Dad for everything you have done to help make the house just what I had hoped it would be! 

Goes to show that you can make anything look good, even on a budget. Get creative and don't be afraid to do it yourself! Please let me know your greatest budget remodel in the comments section.
Pin It

Monday, October 15, 2012

Coffee Table Face Lift

For those of you who don't know me, you will learn quickly that I am very close with my parents. In fact, my mom is my best friend! I talk to her just about every day. And I always wish I could find ways to show her how much I appreciate all that she has and continues to do. It finally hit me one day when we were sitting around her basement talking. I noticed how beat up her coffee table was (she has had it since we were all young kids).


I pointed out how beat up it was looking in comparison to the rest of the furniture in the family room and she informed me that she just couldn't part with the table . . . it was one of her favorite furniture purchases. And there we had it . . . something special that I could do for my mom! That Saturday it was sitting on my back patio waiting to be prepped for a fabulous make-over.


I stripped all of the finish off of the top of the table and roughed up the sides. It was kind of sad to be sanding away the names of my siblings and myself that had been pressed into the table by heavy handed young writers during homework sessions! 


I stained it first. Big mistake. The stain wasn't the right color that I had in mind. It was too dark . . . not warm enough to contrast well with the black I would be painting on. So I began to re-strip the table. I also decided it would be best to flip the table upside down and paint the bottom first, then stain at the end. So I painted the base "Silhouette" black with Martha Stewart paint and then flipped over to stain the top. 


While the stain set I used a rough sanding block to rough up a few edges . . . I wanted the warmth of the wood to peek through on the bottom too. I then added a little bit of stain to the roughed up areas. I let it all dry overnight and finished up with 2 coats of polycrylic to protect it! I am quit happy with the transformation . . . I almost didn't want to give it back. 


I am pretty sure she must be loving it as much as me because I heard there will be a dresser arriving at my house for a make-over as well. And I already cannot wait to tackle it! I am so happy to have found a way to show my appreciation for my wonderful mom! 


Linking up to:
Homespun Happenings


Pin It

Tuesday, October 2, 2012

Re-finished Chest: From Old to Bold

So the project I was hoping to finish by Saturday morning did not get finished until today but that is okay. We've been dealing with a cold that started with my little one and has now decided to attack me as well. (At least it was an excuse to spend all day today in our lounge pants on the couch . . . I love having a cuddle buddy here with me)!

In any case, I did take the time this morning to finally put the finishing touches on this project so that I could finally share it!


My husband and I are using hand me down furniture in our bedroom, and if you've been following me you know we are living on a dime while I am staying home with our little one. However, I thought perhaps I might be able to create a nice bedroom set for us using what we already have. This whole project cost me about $5.00. The color was done with 1 sample can from home depot and I used just a smidgen of my white paint for the inside of the chest! 


We use the chest to hold our extra blankets and sheets since our house doesn't have a linen closet. So much brighter looking now! I finally love this piece. (Thank you to my wonderful mom for passing it down to me . . . and for all the furniture she continues to pass my way)! 

So I am sure you have figured out that one of my big projects for fall is to re-vamp our bedroom! We had painted in a rush when we bought the house in an attempt to get everything done before the floors were re-finished. It was just too dark and to be honest, the current color feels too much like a doctor's office color to me. I guess because it resembles some of those greenish scrubs you see so much of the time. I am going to try to get our room completely tied together for as cheap as possible. My goal is $80 or less. Stay tuned to see progress . . . don't forget . . . it takes me a while as I usually only get 1-2 hours a day for working on hobby items. 

Pin It

Friday, September 28, 2012

Adventures with a Treadle Sewing Machine: Cleaning the Singer

So I stayed up way too late last night but it was well worth it. The Singer is now shining in her cabinet! All that's left to do is to oil her, wax the cabinet and attach the belt. I am so excited to get sewing!

As promised, I am posting before and after pictures. The very first thing I did was to wipe her down with a soft cloth and warm water with a splash of dish soap. Then I decided to work on all of the chrome pieces. To clean the chrome I would pull each piece off as I was working on it and clean with metal polish. I did one piece at a time so I wouldn't forget where each piece went. Some pieces were really dirty so I would also scrub with a fine steel wool pad. Then follow up with more metal polish.


I then wiped the painted part of the machine down with sewing machine oil . . . if you are cleaning a machine be very careful with what you use on the paint, especially if your decals are in good condition! After wiping down, sewing machine oil is your best bet.


Not too shabby for 106 years old, right? 


Pin It

Thursday, September 27, 2012

Adventures with a Treadle Sewing Machine: Make That Machines!

It's been a busy week with refinishing in our house and not all of the projects went well. As promised . . . I was sharing the ups and downs of the White Treadle Sewing Machine fix-up and right now, it is mostly downs. We applied 2 coats of stain but the beat up wood was not taking to it nicely. The top was completely splotchy and not at all what I had hoped it would be.


The wood just looks sad. But I am still so in love with this beautiful cabinet.


One thing you must learn . . . I refuse to quit until I get what I want. So I will continue to work until I achieve what I have pictured in my mind. My husband and I have decided that this will be our biggest project yet . . . we are actually going to re-veneer the entire top of the table. Therefore, this cabinet will be put to the side until the new year. I will need to make some money before I can purchase the wood veneer and there are a few other projects that are taking priority. I will continue to clean and prep the sewing machine head in the meantime. 

It is not all bad news though. My husband surprised me this week by purchasing a stunning Singer 15-30 with Tiffany decals as an early birthday present. The cabinet and the machine are in fabulous condition. The only flaw in the cabinet is that it is missing it's lid (eh . . . it's too pretty for me to care . . . I am just going to sew a beautiful dust cover for the machine) and the machine just needs a little bit of cleaning and polish. 


I am so in love with this beauty! And my amazing husband for allowing me to own 2 stunning pieces of history! I was dying to treadle and I was sooo disappointed when we realized how much longer it would be until the White would be up and running. I should now be treadling by Sunday night! 


I am going to get back to cleaning the machine head before bedtime! I will share pictures of how pretty it looks all cleaned up. I also am wrapping up another furniture makeover which I hope to have completed by Saturday morning! 
Pin It

Tuesday, September 18, 2012

Adventures with a Treadle Sewing Machine: Many Days Later

I feel like I have already lost count of how many days I have been at work on the new old machine. I have become quite discouraged over the past few days . . . I have not been too pleased with the results I am getting and am now even considering re-veneering the piece.

I made the mistake of staining over the wood putty without sanding it all down as well as I should have. Note to self . . . next time use pre-stained wood putty and be sure to sand as much off as possible. I am glad I tested one small piece.


It was awful looking. But I promised to share the best and worst of this project with you. This resulted in another day of sanding.


I did do one coat of stain but did not get a chance to photograph it yet. I am not liking the way the stain is taking so we will see if another coat of stain makes a difference. The machine itself is still being cleaned. I am still trying to clean all the rust off of the chrome pieces. There is only so much scrubbing you can do in one day.

To top it off, we have had rainy days lately and I cannot carry the machine in and out myself. Therefore, I have been left with only evenings or weekends to work so that I have my husband here to help me lug it in and out. Needless to say, it has helped to make the project last a while. 

I am so grateful that my family is willing to put up with our entire dining room being re-arranged as the table sits against one wall and the machine is perched in it's own spot on the dining room table.

I have not given up yet though. I will continue to try to make this machine look as good as it did back in the day. I am just so anxious to start sewing on it.

I will also be embarking on a bedroom re-vamp over the next few weeks. It will take a while, as I will be painting during nap times but the best projects are the ones that you are patient with. Stay tuned for updates on all my projects!

SIDE NOTE: I wish I would have tried a restore-a-finish before stripping the whole piece . . . although it was in very rough shape. Also, for anyone interested in great information pertaining to treadle machines, check out http://treadleon.net/.


Pin It

Tuesday, September 11, 2012

Adventures with a Treadle Sewing Machine: Days 2 and 3

I have been making some pretty good progress over the past 2 days considering the rough condition this treadle machine was in. Yesterday I took some photos of how everything looked after the wood hardener had dried over night. 


I used wood filler to fill a lot of the cracks but do not have photos yet as I will be sanding everything down tomorrow. I then proceeded to wood glue a piece of the table that had lifted apart. 


Luckily, the wood glue worked like a charm. Everything looked great when I took the clamps off this morning.


I also spent last night cleaning the iron legs and pedal. I thought it would be an easy project. I started by scrubbing every last inch with some baking soda paste and a toothbrush. I then wiped everything down with a wet sponge followed by an immediate drying with paper towel. But it still wasn't clean. It took 8 more wipe downs before everything was finally clear of years and years of filth. Poor machine. 

Here are the before pics:


And even a during pic:


And the after pics! The right side is pretty badly chipped but all the rest looks great. I figure the right side just shows its aged charm. The bottom still needs to be polished but I am saving that for last. 


I called it quits for the night after all of the cleaning but I was right back at it today. During the little man's nap time I decided to start tackling the filthy machine! Here is what I was looking at as I sat down today.


I decided the best way to start would be by tackling all of the removable pieces. Here are before pictures of the items I decided to tackle today. 


And here is a during pic. This piece was in really bad shape. Even after cleaning it has little luster left to it. :(


It took baking soda paste and a toothbrush, then a desperate attempt at soaking in some Coca-Cola, and finally some WD-40. I then decided it was time to take a break again so I polished all the pieces before placing them back on the machine. I am not sure if any further cleaning on these specific pieces will do anything but I may try one more bout. If anyone has any advice on what to use to help these really come clean, please do share!

Here are pictures of the pieces after some elbow grease today:


I also used sewing machine oil on a cotton ball to clean all over the decals and the machine itself. So far I did 3 wipe downs and the machine is looking much better. A few more times and it might finally be clean. 


And that was all I had time for today. I still need to tackle all of the pieces that did not come off. I also have to clean the bottom of the machine as well. Quite a rewarding project so far though . . . I just am dying to get this whole thing sewing again! Such a beautiful machine . . . it's so sad to see how neglected it was. Hoping to stain the cabinet tomorrow! 

Stay tuned . . . 
Pin It